
How to Conduct a Safety Induction for New Workers (With Script)
Introduction
Why Safety Induction Matters
Starting a new job is exciting, but in high-risk environments like construction, manufacturing, or oil & gas, it can also be dangerous—especially if workers aren’t properly oriented. That’s where safety induction comes in. It ensures every new hire understands the hazards, safety procedures, and expectations before stepping onto the worksite.
Who Should Attend Safety Induction?
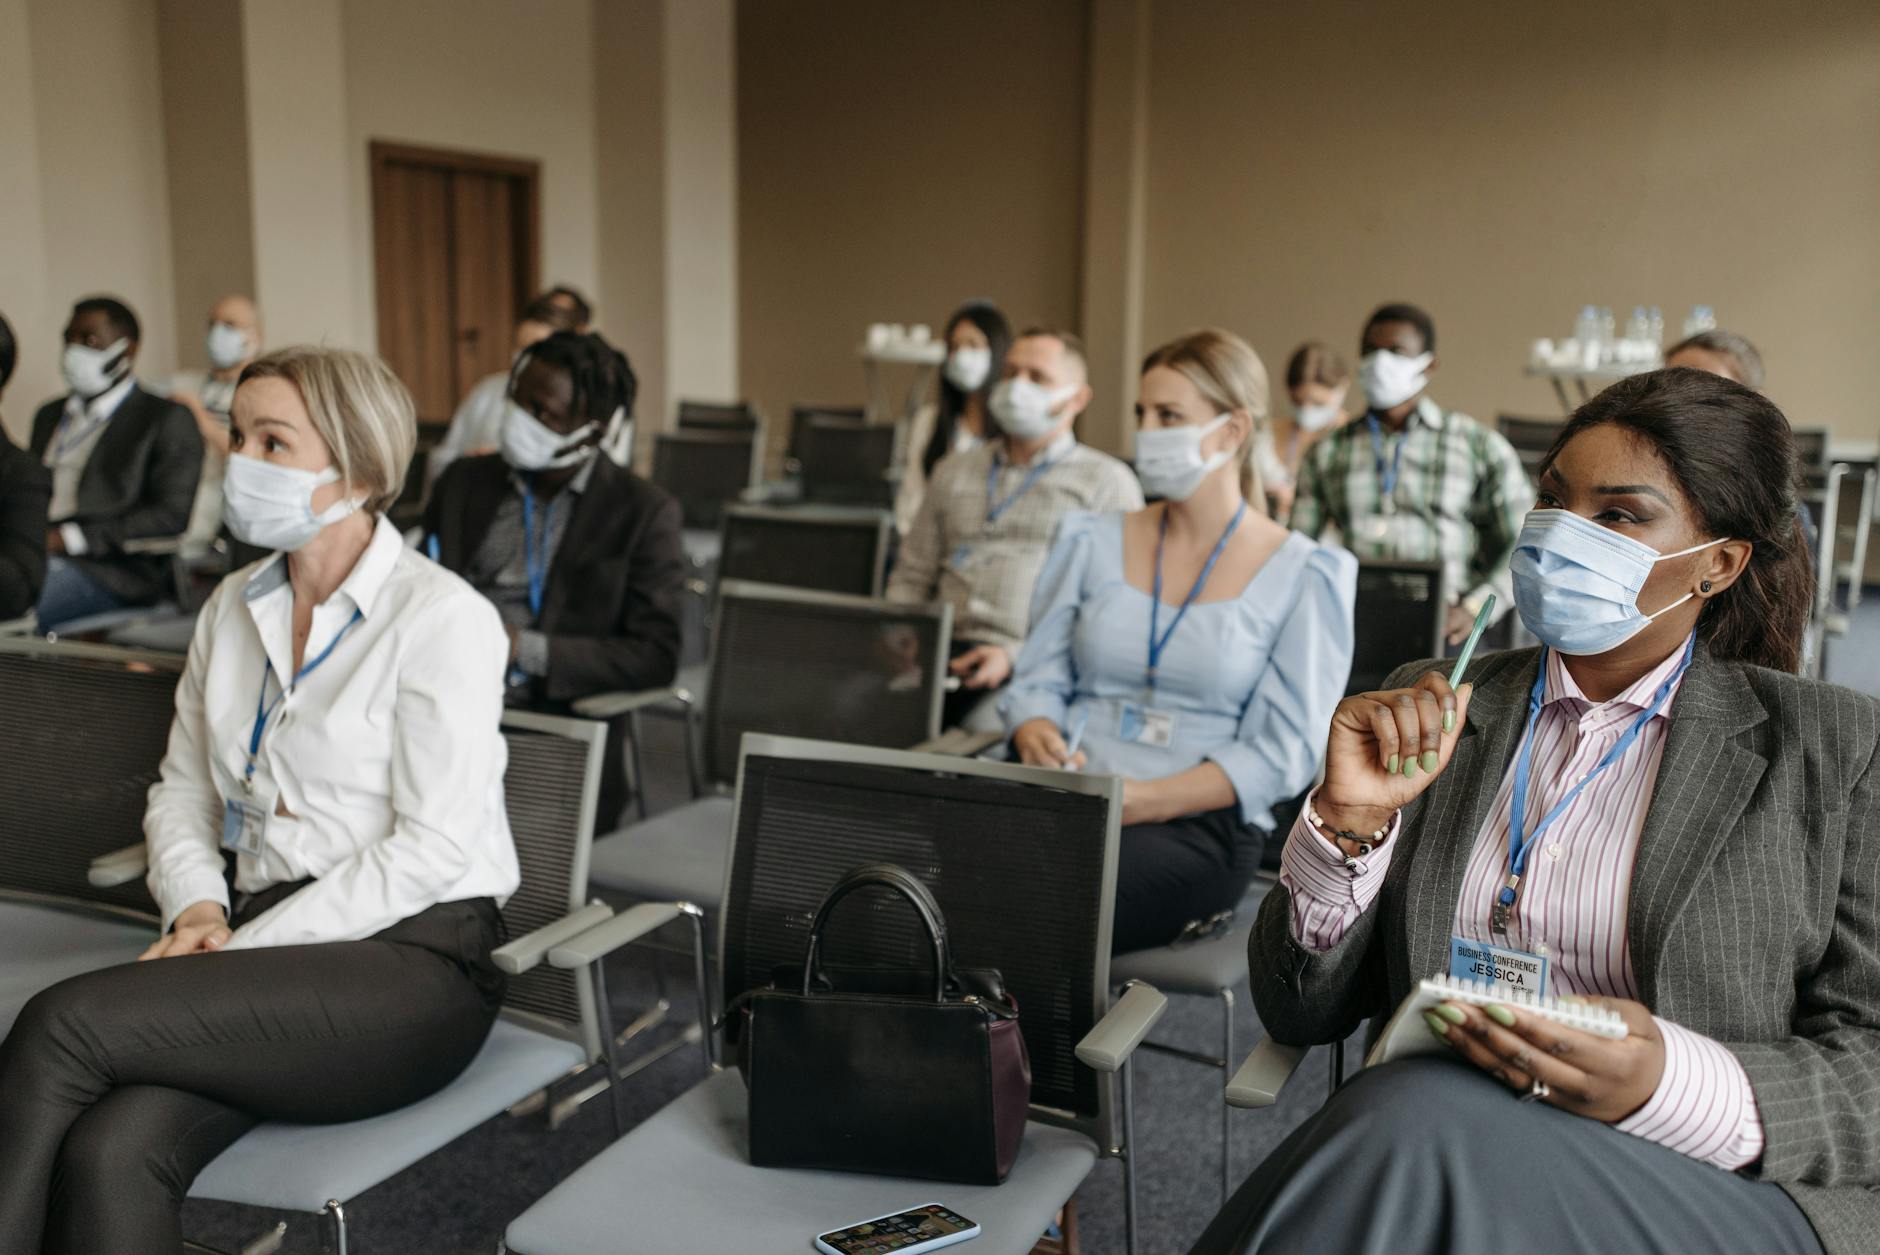
Anyone new to the job site—whether they’re full-time, part-time, contractors, or even visitors—must go through the safety induction process before starting any work. Safety doesn’t discriminate, and neither should your training.
Pre-Induction Preparation
Assessing Workplace Hazards
Before you start preparing your session, identify and assess the specific hazards related to your site. Is it a confined space zone? Are chemicals involved? Understanding the risks helps tailor the induction appropriately.
Creating a Safety Induction Checklist
A solid checklist ensures nothing falls through the cracks. It might include:
- Fire and emergency procedures
- First aid locations
- Site rules
- Evacuation plans
- PPE requirements
- Incident reporting process
Preparing Necessary Documents and Resources
Gather any manuals, policies, videos, presentations, and visual aids. Use site maps, signage photos, and real-world examples to make your session engaging and clear.
Key Elements of a Safety Induction
Introduction to the Company and Site
Start by welcoming new workers and giving a brief overview of the company—its mission, safety culture, and the type of work being performed.
Emergency Procedures
Explain fire exits, alarm systems, emergency contacts, and muster points. Everyone should know what to do when things go wrong.
Personal Protective Equipment (PPE)
Demonstrate the correct use of PPE—like helmets, gloves, eye protection, harnesses—and ensure everyone understands when and why to wear them.
Reporting Incidents and Hazards
Highlight how and where to report near misses, unsafe behavior, and incidents. Encourage a no-blame reporting culture.
Roles and Responsibilities
Clarify who does what—from safety officers to supervisors—and how to escalate safety concerns.
Site-Specific Safety Rules
No mobile phones in certain areas? Speed limits on-site? Each site has its own set of rules, and now’s the time to lay them all out.
How to Structure the Safety Induction Session
Welcome and Icebreaker
Ease new workers into the session with a friendly welcome and maybe a short introduction round. Make it informal but focused.
Step-by-Step Agenda
Stick to a clear plan like:
- Welcome & company intro
- Site overview
- Emergency procedures
- PPE discussion
- Reporting procedures
- Q&A session
- Induction quiz
- Acknowledgement form
Delivery Methods (Presentation, Video, Tour)
Mix things up—use PowerPoint, videos, or even a physical site tour. Different people learn differently, so variety helps retention.
Time Management Tips
Keep it tight but thorough. A good session typically runs 60–90 minutes. Avoid info-dumping—focus on what’s critical.
Sample Safety Induction Script
Welcome and Introduction
“Good morning everyone, and welcome to our workplace! First of all, congratulations on joining the team. We’re excited to have you on board. My name is [Your Name], and I’m the Safety Officer here. Today’s induction session is about one thing—your safety and well-being at work.
Whether you’re here for a short project or starting a long-term role, it’s vital that you understand the health and safety rules and procedures that keep everyone safe. We want you to go home in the same condition you arrived—safe and sound.
This session will take around 1 to 1.5 hours, and we’ll cover topics like emergency procedures, PPE, reporting hazards, safe work practices, and more. If you have any questions during the induction, don’t hesitate to stop me. Your safety is a shared responsibility, and it starts right here.”
1. Site Overview and Safety Culture
“Let’s begin with a brief overview of our site and safety culture.
This facility is a [type of site, e.g., construction site/manufacturing plant/oil & gas rig], operating under strict safety standards. We follow all national and international safety regulations, including [mention any specific standards like OSHA, ISO 45001, etc.].
Our safety motto is simple: ‘Zero Harm’. That means no injuries, no fatalities, no shortcuts. We believe every incident is preventable, and safety is everyone’s responsibility—from the general manager to the newest recruit.
We have a safety committee, daily toolbox talks, and weekly safety walks. You’re expected to take an active part in our safety initiatives. If something feels unsafe—STOP. Report it. Fix it.”
2. Emergency Procedures
“Next, let’s talk about emergencies. Emergencies can include fires, chemical spills, medical incidents, or natural disasters.
Evacuation Procedures
- If you hear the emergency alarm, stop all work immediately.
- Proceed to the nearest emergency exit.
- Do not run, push, or panic.
- Head to the designated assembly point [describe location].
- Remain there until you receive the all-clear from the Emergency Warden.
Fire Safety
- Know where the fire extinguishers and fire hoses are located.
- If it’s a small fire and you are trained, use the appropriate extinguisher.
- Otherwise, raise the alarm and evacuate immediately.
Medical Emergencies
- First aid kits are available at [locations].
- Our First Aid Officers are [names or roles].
- In case of serious injury, contact emergency services immediately and notify your supervisor.
We conduct regular emergency drills, and your participation is mandatory.”
3. Personal Protective Equipment (PPE)
“Let’s move on to PPE—your last line of defense.
On this site, you are required to wear:
- Hard hat
- Safety boots with steel toes
- High-visibility vest
- Gloves appropriate to the task
- Safety glasses or face shields
Additional PPE may include:
- Respirators
- Hearing protection
- Fall arrest harnesses (for work at height)
Make sure your PPE is:
- In good condition
- Properly fitted
- Worn at all times in required zones
PPE is provided free of charge, but you’re responsible for taking care of it. If it’s damaged, request a replacement immediately.”
4. Site Hazards and Risk Controls
“Every site has hazards. Our goal is to identify and control them before someone gets hurt.
Some common hazards here include:
- Slips, trips, and falls
- Heavy equipment
- Working at height
- Electrical tools and machinery
- Hazardous substances
- Noise and vibration
We use a system called Hierarchy of Controls:
- Elimination
- Substitution
- Engineering Controls
- Administrative Controls
- PPE
Always follow Safe Work Method Statements (SWMS) and Job Hazard Analysis (JHA) documents. These explain how to do tasks safely.
If you spot an uncontrolled hazard, don’t ignore it. Report it to your supervisor or the safety team immediately.”
5. Tools, Equipment, and Machinery Safety
“Only trained and authorized personnel may operate machinery.
Before using any tool:
- Inspect it for damage
- Make sure guards are in place
- Follow lock-out/tag-out procedures when doing maintenance
Never bypass safety devices. If something doesn’t work, tag it and report it. Always follow manufacturer’s instructions.
Lifting and Manual Handling
- Use proper lifting techniques—bend your knees, not your back
- Get help if the load is heavy
- Use mechanical aids like forklifts or trolleys
Unsafe equipment use is one of the top causes of injury—let’s keep those stats down.”
6. Working at Height
“If your role involves working at height, strict procedures must be followed.
Working at height includes:
- Ladders
- Scaffolding
- Elevated platforms
- Roof access
Control Measures:
- Always use a certified fall arrest system
- Inspect harnesses and lanyards before use
- Only use ladders when absolutely necessary and secure them properly
- Never work at height alone
You must complete Working at Heights training before you can perform any elevated work. Safety checks are mandatory before starting any task.”
7. Confined Space Entry
“Confined spaces are dangerous and require permits.
Examples include:
- Tanks
- Tunnels
- Pipelines
- Manholes
Entry Requirements:
- Valid confined space entry permit
- Atmospheric testing
- Trained standby person outside
- Rescue plan in place
Never enter a confined space without authorization, proper PPE, and communication equipment. It could cost your life.”
8. Hazardous Substances and Chemicals
“We handle various chemicals on site. Each has an SDS—Safety Data Sheet—available for review.
When Handling Chemicals:
- Wear proper gloves, goggles, and clothing
- Follow label instructions and SDS
- Never mix chemicals
- Store chemicals in designated areas
In case of spills, follow spill response procedures. Always report exposure or incidents, even if you feel okay.”
9. Incident Reporting
“Reporting saves lives. Any of the following must be reported:
- Injuries or near misses
- Unsafe conditions
- Environmental damage
Use the Incident Report Form or contact your supervisor.
We don’t play the blame game here. If you report a near miss today, we might avoid an injury tomorrow. Always speak up.”
10. Housekeeping and Waste Management
“Good housekeeping is good safety.
- Keep work areas tidy and clear of debris
- Clean up spills immediately
- Dispose of waste in labeled bins
- Segregate hazardous and non-hazardous waste
Trip hazards are avoidable with basic cleanliness. Everyone must do their part.”
11. Drugs, Alcohol, and Fatigue Management
“Zero tolerance for drugs and alcohol. Random testing may occur.
If you’re fatigued, tell your supervisor. Don’t operate machinery or perform hazardous tasks when tired.
Remember, your judgment and reflexes affect everyone around you.”
12. Roles and Responsibilities
“Let’s clarify who does what.
You (as a worker):
- Follow safety procedures
- Use PPE
- Report hazards and incidents
- Participate in training
Supervisors:
- Ensure team safety
- Conduct risk assessments
- Investigate incidents
Safety Officer (me):
- Oversee safety policies
- Run inductions and training
- Monitor compliance
- Advise management
We all play a role in maintaining safety.”
13. Training and Competency
“All workers must be trained and deemed competent before starting any job. This includes:
- Toolbox Talks
- Job-specific safety training
- Emergency drills
Training records are maintained for compliance. If you feel unsure about a task—ask!”
14. Safety Signage and Color Codes
“Pay attention to signs.
- Red = Danger or Prohibition
- Yellow = Caution
- Blue = Mandatory
- Green = Emergency or Safe Exit
Know what signs mean—they’re there for your safety.”
15. Final Thoughts and Questions
“We’re wrapping up now. Safety is not a one-time checklist—it’s a daily habit.
If something feels off, don’t wait—act. Report. Correct.
Before we finish, does anyone have questions? Feel free to approach me later if something comes to mind.”
Post-Induction Actions
Induction Acknowledgement Form
Have each participant sign a form confirming they attended and understood the induction. It’s both a safety best practice and a legal requirement.
Evaluation and Feedback
Ask attendees to rate the session. Did they find it helpful? Was anything unclear? Use this feedback to improve future inductions.
Keeping Records for Compliance
Maintain induction logs, attendance sheets, and signed forms. These are essential during audits and inspections.
Common Mistakes to Avoid During Induction
- Rushing through critical information
- Using complex language or jargon
- Failing to tailor content to specific site hazards
- Not engaging the audience
- Skipping hands-on PPE demos or site tours
Tips for Effective Safety Induction Delivery
- Use stories or real-life incident examples to drive home points
- Keep visuals simple and direct
- Allow questions throughout—not just at the end
- Be approachable and energetic
- Follow up with refresher inductions periodically
Conclusion
Conducting a safety induction isn’t just about checking boxes—it’s about setting the tone for a culture of safety from Day One. When done right, it empowers new workers, reduces risks, and builds trust on site. So the next time you welcome someone new, make your safety induction count!
Hand and Power Tool HSE Training
HIRA HSE Training (Hazard Identification and Risk Assessment)
Lockout and Tagout Procedure HSE Training
Radiography Safety HSE Training
FAQs
Q1: How long should a safety induction take?
A: Typically 60 to 90 minutes, depending on the complexity of the site and job roles.
Q2: Is a safety induction mandatory?
A: Yes, in most industries, it’s a legal requirement before any worker begins on-site.
Q3: Can safety induction be conducted online?
A: Yes, especially for remote work or office-based roles—but site-specific inductions should always include a physical walkthrough.
Q4: Who should deliver the safety induction?
A: Ideally, the safety officer or HSE manager, but trained supervisors can also conduct them.
Q5: How often should inductions be refreshed?
A: Annually or when there’s a significant change in site conditions, rules, or procedures.


 Training – Free Download")


")


 Senior Manager Required for HPCL Rajasthan Refinery Limited: Salary up to 2,20,000 per month")
 The National Examination Board in Occupational Safety and Health")
 SOP Document")

